
Since some of you seemed to like the tile thing I thought I'd show ya'll how easy it is to do. Of course, you have to have a kiln to fire them but the process of the tiles is fairly simple and you don't really need any fancy equipment. I had taken these pictures a while back and had kinda forgotten about them but luckily didn't delete any.
So, first you make your original design and getting it all perfect in every way. This tile may look a little out of square but I got it straightened up before going further. Keep in mind that the clay will shrink considerably by the time it makes it through the final firing. Most clays shrink around 10%.

I threw together this simple box; it's held together with screws because you are going to have to take it apart later. I sat it on a good flat board and sealed the inside cracks, where it sits on the board, with clay. I then placed the tile in the box, centering it best I could. You can kinda wet the back of the tile also, to kinda make it stick to the board.

I then mixed the plaster that will make the mold. Plaster hardens through a chemical reaction so when it starts to get warm you know it's about time to pour it. You must mix plaster with your hand pretty much, so it's easy to tell it's getting warm and getting thicker. As it starts to thicken slightly just pour over the tile. You want the plaster to cover the tile by about one inch. Now, just let it set. This can take a couple of hours or so.
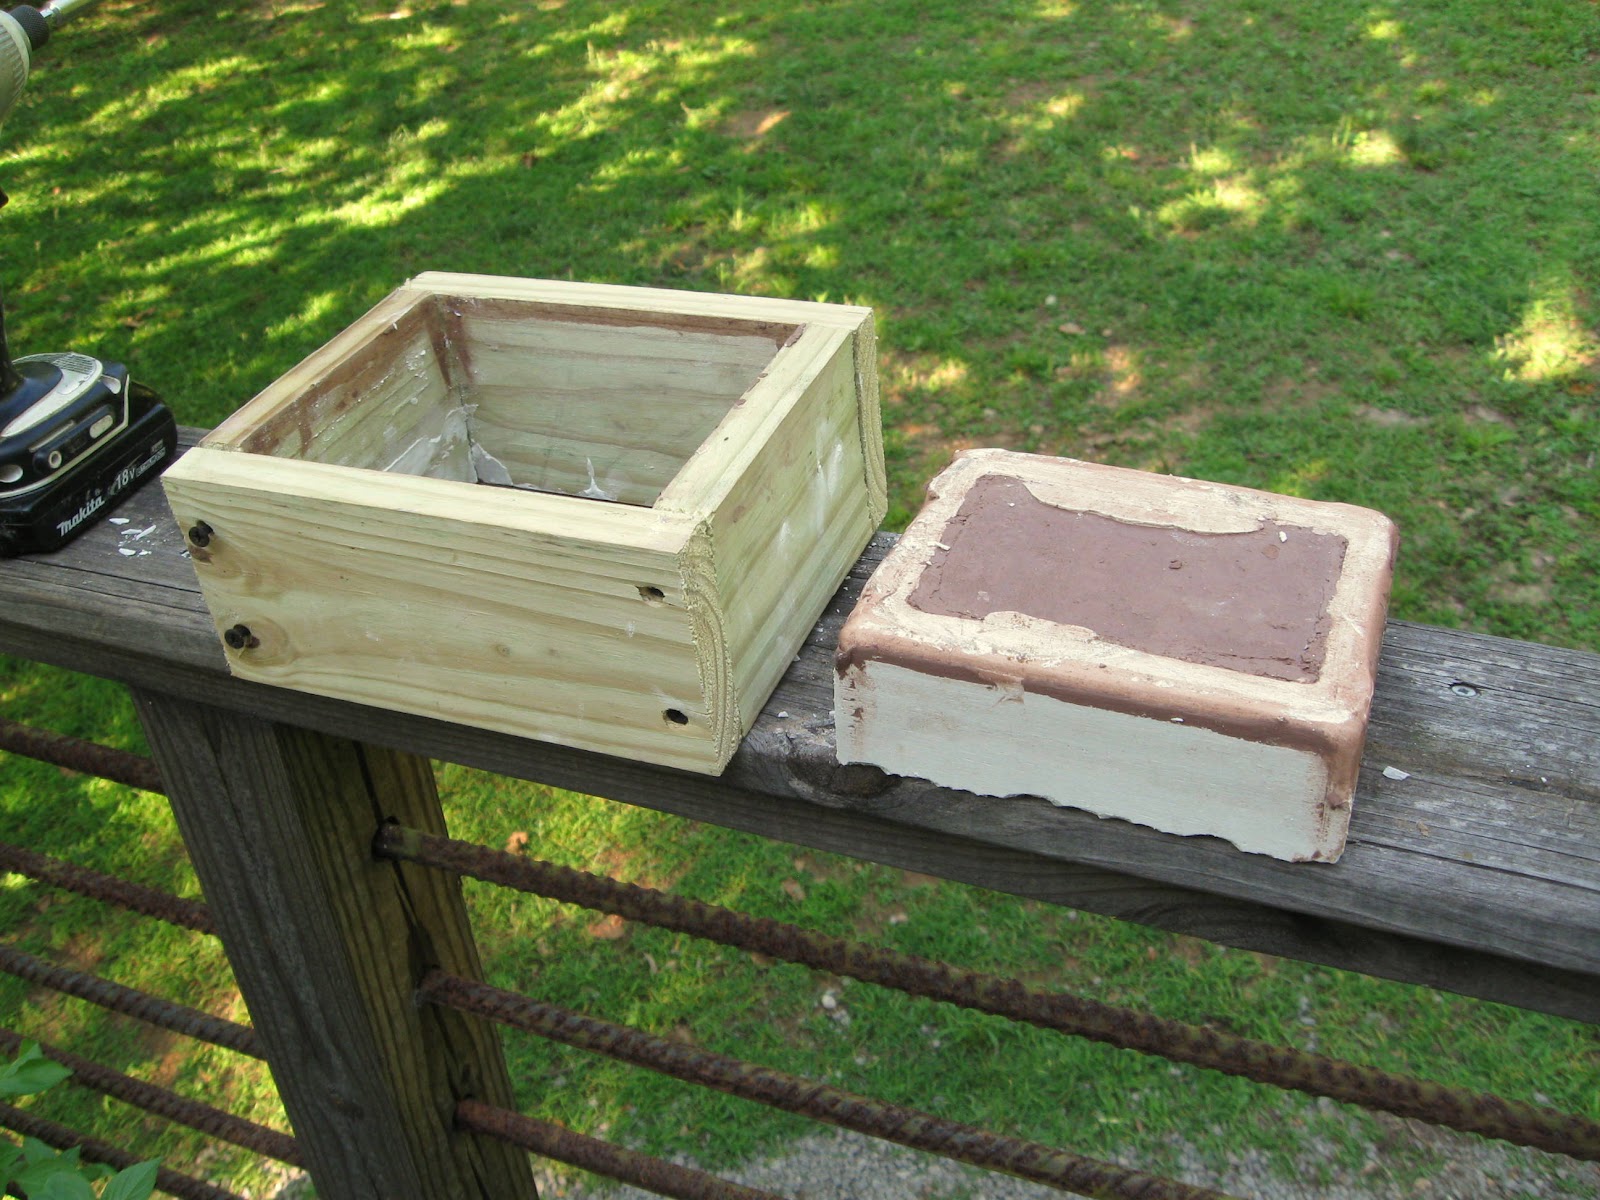
Now, unscrew the corners on opposite sides and pop the mold out! You can spray the wood mold with cooking spray or such to facilitate it letting go of the plaster but I didn't have a problem with that.

Then, just pick the clay out of the mold making sure not to jab or break the plaster. If you can get one edge coming up the tile should just pull on out but you may have to pick parts here and there. Again, you can spray the tile and everything with cooking spray to make removal easier.

Of course, the original tile is destroyed but now you have a easy way to make bunches of them!! So, just clean the mold up, straightening the edges etc. You obviously can't have any undercuts or the tile won't come out! Plaster holds a lot of water, even after it has set, so you must dry the mold in the oven for a couple of hours or so. I put mine in my little toaster oven on about 150-200 degrees for a couple or 3 hours. When it has dried sufficiently it will fell much lighter and well...dry. Now you can cram clay back in the mold and, in about an hour or so, the dry plaster will suck enough moisture out of the tile to cause it to release on it's own. Just tap the mold on a table and the tile will pop out! Repeat as often as you like! After a good many tiles the mold will begin to loose it's fine details, so if you wanted to make hundreds of tiles it would be best to make several molds.
I dry the tiles on a wire shelf, turning them often to help keep them from warping. Then just fire like any other pottery.
6 comments:
Yeah, that looks simple enough.
Thanks, Annie, for the lesson.
Reminds me of my childhood days of art class when we made clay ashtrays. I'm guessing they don't sanction ashtray making anymore.
Anyway, I was too heavy handed to be good with clay. I was much better at drawing for some reason.
Another lesson for me today!
I love it when you teach us something new!
Hey Sissy! you're welcome! it is pretty easy.
Hey Ed! ha! yeah, my guess is they don't make too many ashtrays either!
I remember making a bunny; I thought he was quite snazzy too.
Hey Jim! Great! glad you enjoyed it!
Even though I won't be doing any of this, the show and tell was interesting, Annie. Also the finished tiles in yesterday's post looked like they might be useful for coasters or maybe building a backsplash?
Hey Bea! yes, these tiles would work well as a backsplash or any number of other decorative tile surfaces!
Post a Comment